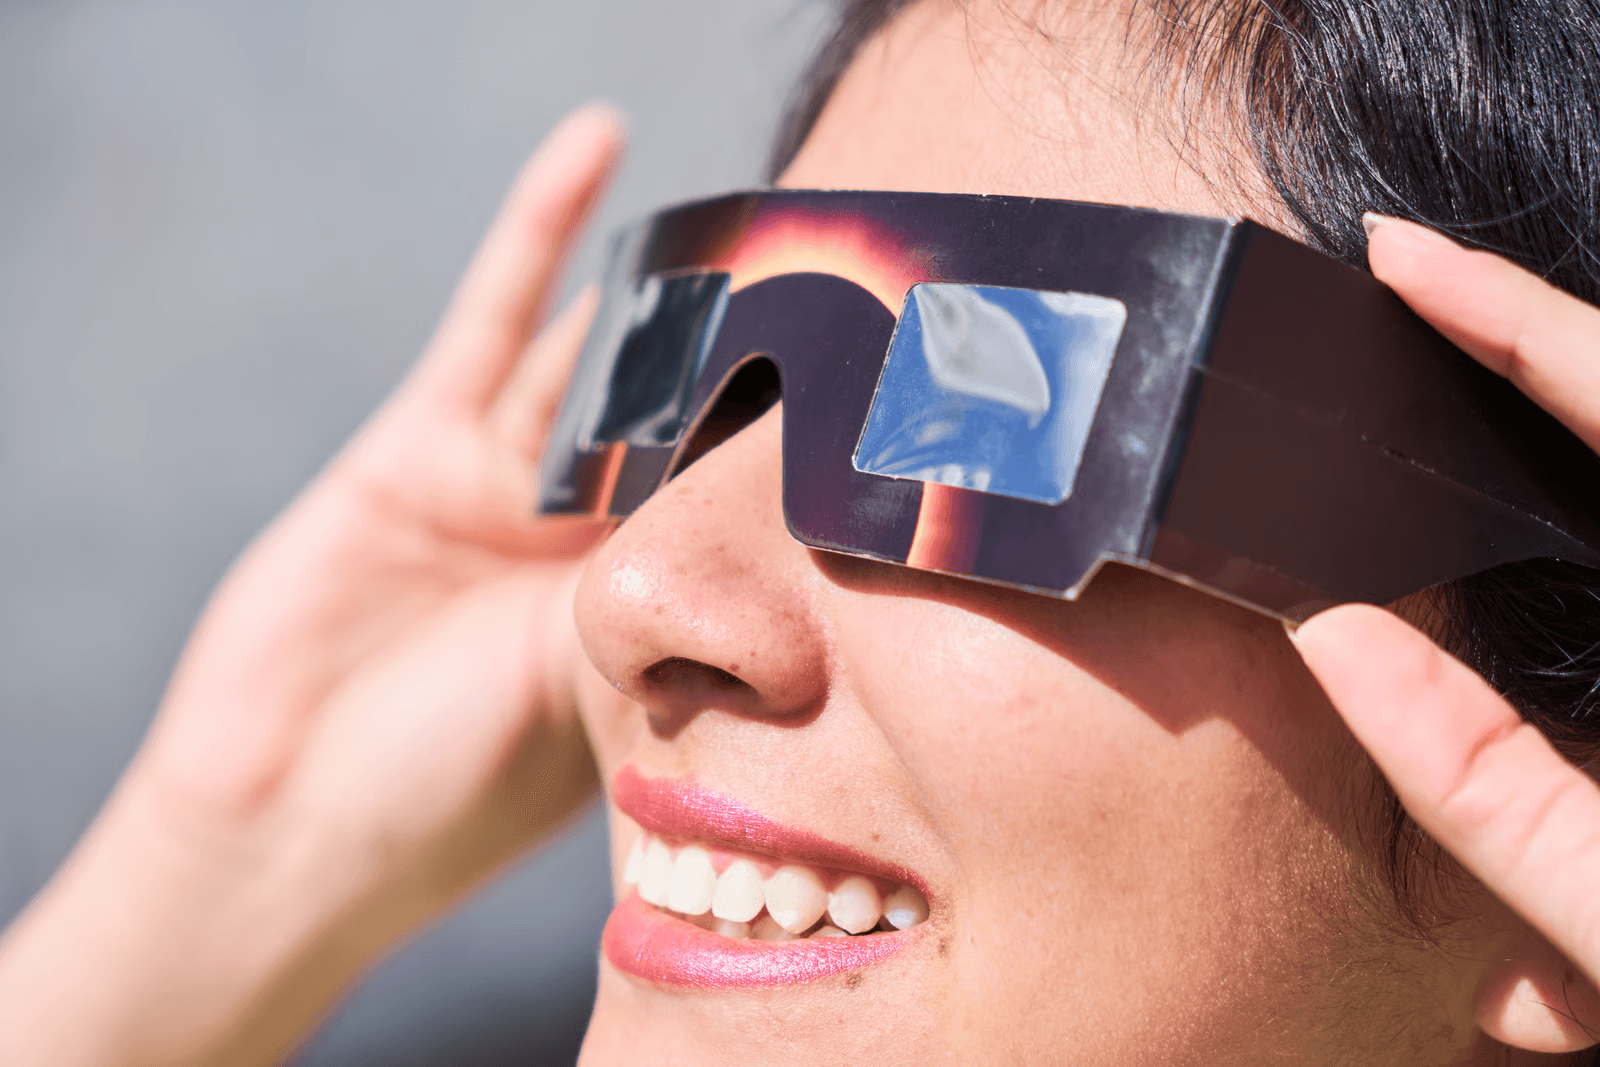
If you’re planning to observe a solar eclipse, one of the most important pieces of equipment you’ll need is a safe solar filter. Shop-bought filters can be expensive, but you can make a perfectly effective one yourself for just a few pounds using Baader AstroSolar Safety Film. This semi-transparent silver film is considered the gold standard for safe solar observing, filtering out over 99.999% of the Sun’s light and harmful radiation. It’s widely available from UK astronomy retailers and comes in a range of sizes.
Important Safety Information
Only use film specifically designed for solar observing.
Never use:
* Ordinary camera neutral density filters
* Exposed film negatives
* Sunglasses
* Smoked glass
* CDs or DVDs
* Any homemade substitute
For visual observing, always use Baader AstroSolar Visual Film (Optical Density 5.0).
Visual Film vs Photographic Film
Baader also produces AstroSolar Photo Film (OD 3.8):
This film allows more light through, producing a brighter image that is ideal for photography.
Never use OD 3.8 photographic film for direct visual observing.
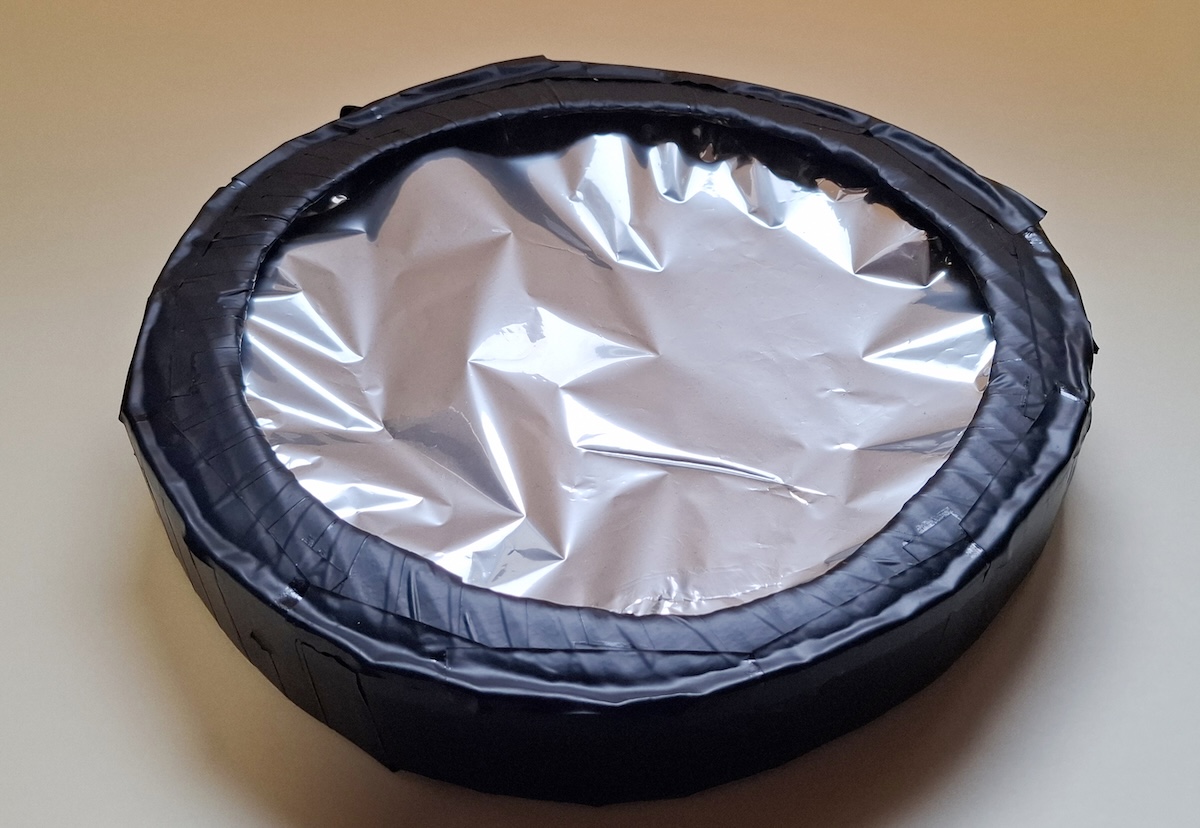 Solar filter for a large telescope
What You Will Need
* Baader AstroSolar Safety Film (OD 5.0 Visual)
* Two pieces of stiff card (cereal box card works well) or similar rigid material
* Scissors or a craft knife
* Ruler
* Pencil
* Glue stick, strong adhesive, or sticky tape
Step-by-Step Instructions
Step 1: Measure Your Optics
Measure the outside diameter of your binoculars, telescope, spotting scope, or camera lens.
Add at least 5 cm to this measurement to provide enough overlap and ensure no direct sunlight can enter around the edges.
Step 2: Cut the Filter Rings
Using your chosen material:
1. Cut two identical squares or rings using the dimensions calculated above.
2. Cut a circular hole in the centre of each piece matching the diameter of the front of your telescope or lens.
These pieces will form the frame that holds the solar film.
Step 3: Sandwich the Solar Film
Handle the solar film gently by its edges.
1. Cut a piece of AstroSolar film slightly larger than the opening.
2. Place it between the two card rings.
3. Glue or tape the rings together securely.
Important: The film should lie flat but must not be stretched. Small wrinkles will not affect image quality and are perfectly normal.
Step 4: Make the Attachment Sleeve
Cut a strip of card long enough to wrap around the front of your telescope or lens.
Leave some extra length and cut several small tabs or flaps along one edge. These flaps will be used to attach the filter assembly.
Step 5: Form the Sleeve
Wrap the strip around the telescope’s dew shield or lens hood and secure the ends together.
Check that the fit is snug but can still slide on and off.
Step 6: Attach the Filter
Glue or tape the solar film assembly onto the tabs created in Step 4.
Make sure the entire filter is securely fastened and cannot come loose during use.
Step 7: Check for Pinholes
Before using the filter:
1. Hold it up to a bright lamp indoors.
2. Inspect it carefully for pinholes, tears, or damage.
Even a tiny pinhole can allow enough sunlight through to be dangerous.
If you find any damage, discard the filter and build a new one using fresh film.
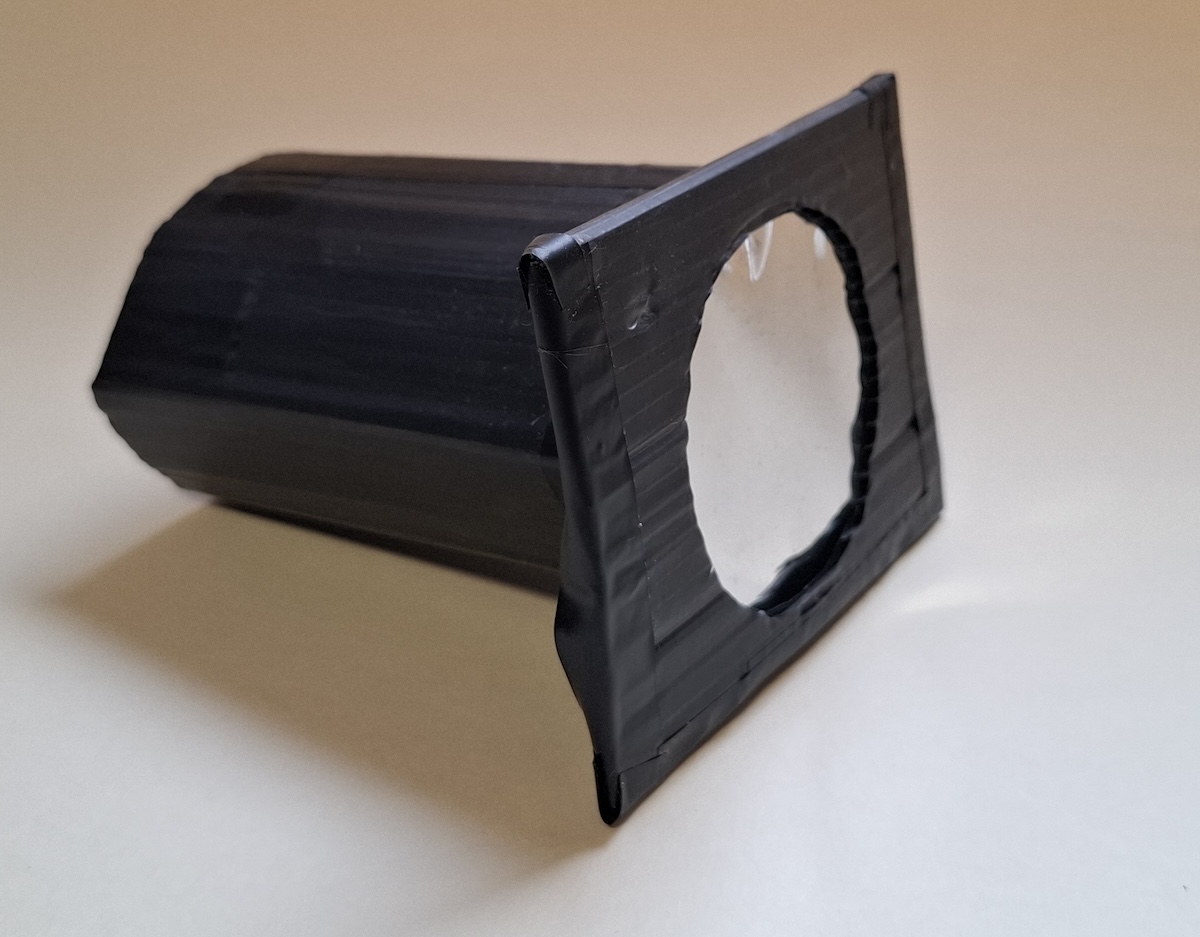 Solar filter for a small telescope
Using Your Solar Filter Safely
Always attach the filter to the front of your telescope, binoculars, or camera lens before pointing it anywhere near the Sun.
Before every observing session:
* Check that the filter is securely attached.
* Inspect the film for new pinholes, scratches, or tears.
* Ensure the filter cannot be blown off by wind or accidentally knocked loose.
During the Eclipse
For observers in the UK, solar eclipses are typically partial eclipses. This means the Sun never becomes completely covered.
Never remove the solar filter during the eclipse.
The Sun’s full intensity returns immediately if the filter is removed, creating a serious risk of permanent eye damage and damage to optical equipment.
If in doubt about the condition of your filter, replace it.
Safe solar observing is always worth the extra caution.